Instagram Augmented Reality Filters: Rock Your Virtual World
When someone says “Instagram filters,” you might think of those color presets and effects that change your photos’ overall look. But today, filters have evolved into something more dynamic and technologically advanced. Welcome to the era of Instagram augmented reality filters. With these cool filters, you can overlay virtual design elements and 3D objects on your Instagram Stories!
An AR filter creates a more interactive experience that alters your on-screen reality and makes it more fun and imaginative. Today, we’ll talk about these interesting filters, who can benefit from them, and how to make your custom filters. Let’s jump right in!
What Is Augmented Reality?
Those who may not be as familiar with the concept of augmented reality might be wondering, what’s the fuss about? Why is this buzzword all over, not just on Instagram but also in the tech world?
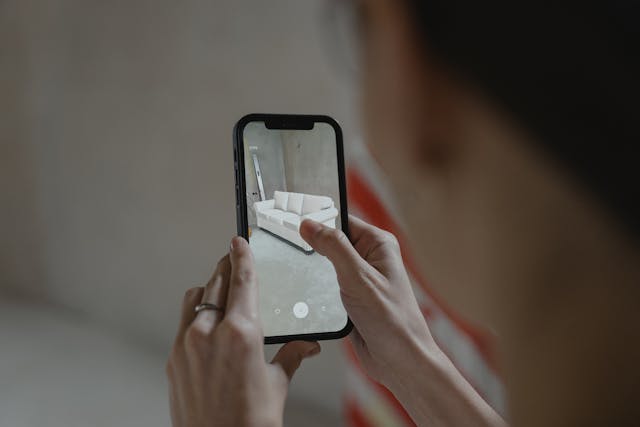
Augmented reality (also referred to as AR) is a technology that allows you to see digital objects in your environment. It works by using sensors in your device’s camera feature to position interesting 3D objects onto the screen. As a result, it alters your perception of where you are, creating a dynamic, immersive experience on-screen.
Many people confuse it with virtual reality or VR, but there’s a stark difference. While VR creates an entire simulation of a whole new world, AR simply enhances your current environment. That makes it more personalized and dynamic, allowing digital content and characters to blend into the real world.
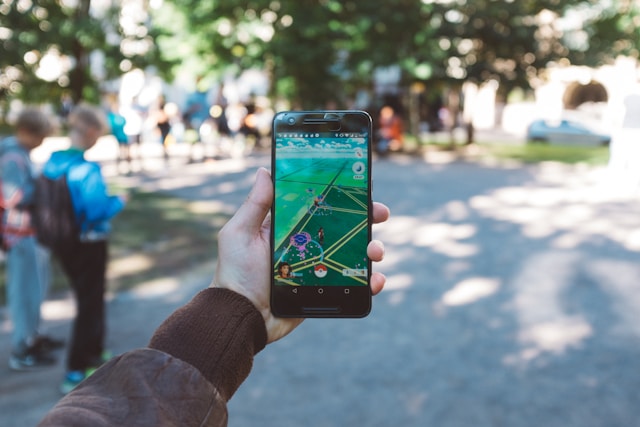
There are plenty of ways augmented reality is changing the tech world, especially in gaming. The widely successful game “Pokemon GO” is one example of AR. By using your phone camera, players can hunt down cute Pokemon and collect them all.
But AR isn’t limited to gaming. It also has plenty of tricks up its sleeve on social media. For platforms like Instagram, Snapchat, and TikTok, it comes in the form of an augmented reality filter.
What Are AR Face Filters on Instagram?
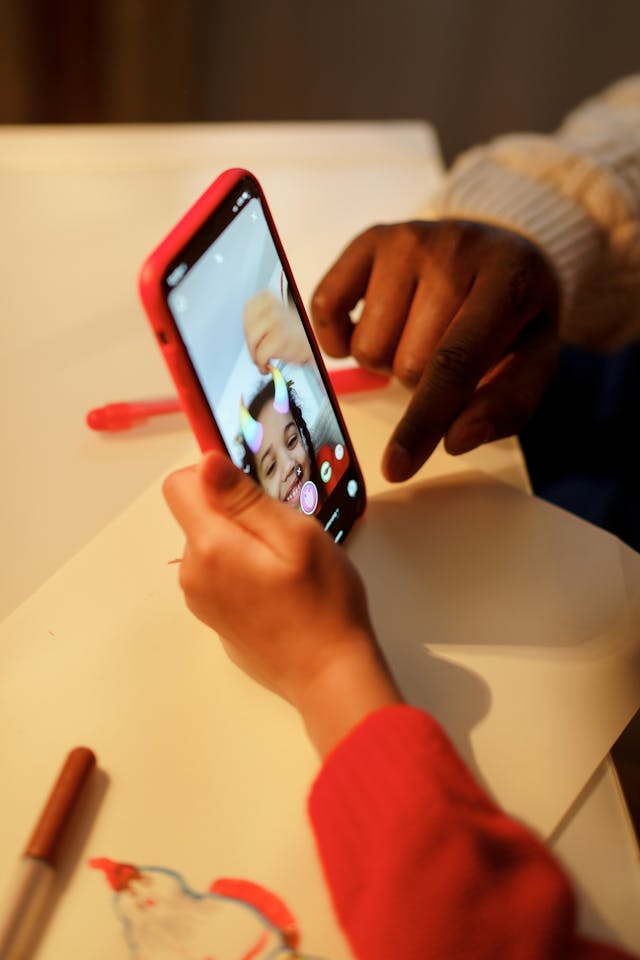
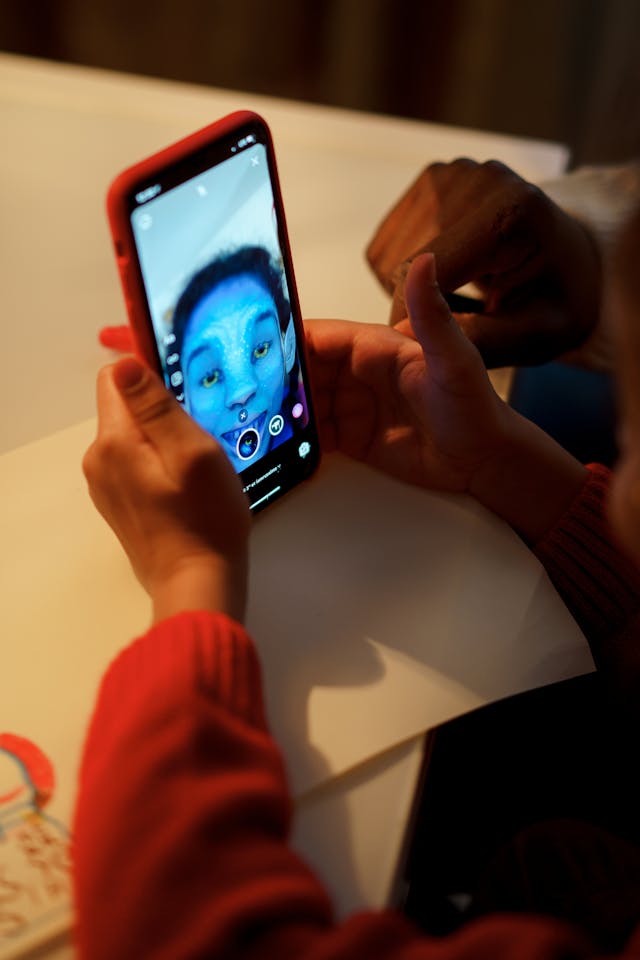
For Instagram specifically, AR face filters allow you to inject augmented reality into your Instagram Stories. These include characters that appear in your world or creative face filters that enhance your look all through your camera. They also work for puzzles, games, quizzes, and more interactive experiences. These types of filters make any Story post more interesting and playful, which can help engage your followers more.
An Instagram AR filter is an easy, terrific way to add some spice and creativity to your everyday Stories. For example, instead of talking to your followers normally, you can do so with a cute filter on your face. This is a quick, low-maintenance way to express yourself and add a quirky touch to otherwise ordinary Stories.
These immersive filters are also awesome for promoting brands. They can superimpose iconic brand logos and digital renders of products, turn a business’s branding into a game, and more. According to Paul of Gloam, who makes “brilliant climate-positive AR filters,” these are four times more engaging than video content. What’s even more interesting is that they contribute up to 70% more recall than non-AR promotional content.

How To Create AR Filters for Instagram: A Step-by-Step Guide
Are you thinking of making your custom filters and publishing them on social media for other people to enjoy? Here’s how to create AR filters for Instagram, step by step.
1. Download Spark AR on Your Device
You must build every Instagram filter that uses augmented reality technology on Spark AR Studio. This creative Meta platform allows you to design and create your own AR effects for custom filters. After making a filter here, people will be able to access it across the Meta network.
So, the very first step to making your AR-inspired filter is downloading Spark AR on your device. It’s available for download on both Mac and Windows devices.
2. Start a New Project and Choose a Template
When you’ve successfully downloaded and installed Spark AR Studio on your device, open it up. From the platform’s dashboard, choose to start a new project. You can either start from scratch with a blank canvas or choose one of the templates they have. We highly recommend choosing a template for those making a custom filter for the very first time.
The platform will lead you to the Viewport, aka the area wherein you’ll design and build your filter. From here, you can play around with the virtual elements and graphics you want in your AR-driven filter.
3. Upload 3D Objects to Your Filter and Add the Effects You Want
The next thing you want to do is upload the 3D objects you want to add to your filter. If you have a knack for drawing and animation, upload your work to the software’s library. You can also simply import one of the free assets available on the platform. The library also includes audio clips, which you can add to make your filter that much more immersive and dynamic.
After adding all the virtual design elements to your filter, work on your desired effects. Think of how you want your 3D objects to move when someone uses the filter. Experiment with the platform’s Scene panel to change how your digital objects can behave and interact with the user. You can even choose different effects for those using the filter with the front or back camera.

4. Test Out Your Final Filter
When you’re done working on your design elements and effects, test out your filter. You’ll see a Simulator on the corner of Spark AR. Here, you’ll see how the filter looks on someone’s phone when they use it. Make edits in the Viewport screen until you’re happy with the filter simulated in this area.
Aside from reviewing how it looks on the Simulator, you can also test it on the Spark AR Player app. Just send your filter test file to Meta and then download the app on mobile or desktop. Within that app, you can try the filter for the first time on an Instagram Stories simulation.
5. Publish the Filter and Wait Until It’s Approved and Ready for Use
After you go through all the phases of testing, it’s time to publish your Instagram filter. On Spark AR, click “Upload” to feed it to the Meta system.
Note that just because you upload your filter, it doesn’t mean it gets published right away on Instagram. Spark AR goes through a stringent review process for all custom filters to ensure they meet the network’s guidelines. Just be patient, as this process can take a few days.
Once your filter is finally approved, you will see it in all its glory on Instagram! Other users will also be able to use it by going to your profile and heading to the filter section. The tab for this section should have a smiley face icon and sit next to your page’s Reels tab.
Examples of Cool Instagram Augmented Reality Filters To Draw Inspiration From
Plenty of brands have already hopped onto the AR trend on Instagram. Let’s talk about some of the most memorable ones, shall we?
Let’s start with a popular beauty brand that became a pioneer for interactive filters: Kylie Cosmetics. In 2018, the brand launched a filter that let people see how they looked wearing popular Kylie Lip Kit shades. Aside from rendering the colors on your lips, the filter also toned the face and darkened users’ eyelashes.
The effort was brilliant because it allowed people to try on lip products without going to a physical store. The filter allowed Kylie Cosmetics to drive more interest in their Lip Kits without the usual tired, hard-sell promotional techniques. Plus, everyone loved it because it made them look so good onscreen!
These types of filters also work amazingly for brands with a younger target audience. Gen Z is much more receptive to new creative technologies like AR. So, it’s a great way to catch their attention.
That’s exactly what Pepsi did for their 2019 summer campaign. Throughout that summer, people could scan QR codes on their Pepsi bottles, which led them to a filter on Instagram. This filter introduced them to cute summer creatures in their environment, like a pink flamingo and a charming bonfire character. It was a fascinating, endearing way to get the youth to drink Pepsi and get hyped for the summer.
These are just a couple of examples of AR-driven filters that worked well for their specific target audience. When making your filters to promote a brand, make sure they are aligned with your target market’s interests. That way, you can ensure that the filter will resonate with them and be a hit!
Give Your AR Content and Custom Filters More Exposure by Growing Your Page
There are tons of ways to engage your audience with immersive filters. You can post cute Stories using augmented reality or make your custom filters and promote them for extra visibility. Either way, you’ll be joining in the fun and contributing to the new AR-loving age of Instagram.
Do you want more people to see your AR content and the unique Instagram augmented reality filters you worked hard on yourself? Grow your page so you have a big audience that can appreciate them! If you need help with that, Path Social is here for you.
Our targeting algorithm finds your page’s most engaging target audience and promotes your page to make it visible to them. Not only will this drive more interactions on your content, but it also boosts your follower count. Before you know it, you’ll have a solid fanbase that loves augmented reality content as much as you do. Get more followers today with our help!
Want Free Instagram
Followers?
Let our AI targeted organic growth work for you for free
Get Free Instagram Followers


